SOARVO allows you to adjust how a point cloud is viewed and located.
To access the Point Cloud Settings menu click the Panels Button next to the home button
Point Cloud Settings
This has the options to change how the point cloud displayed
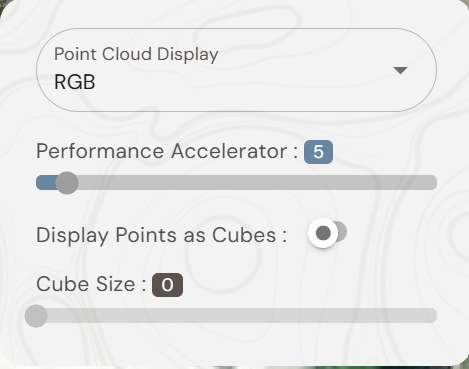
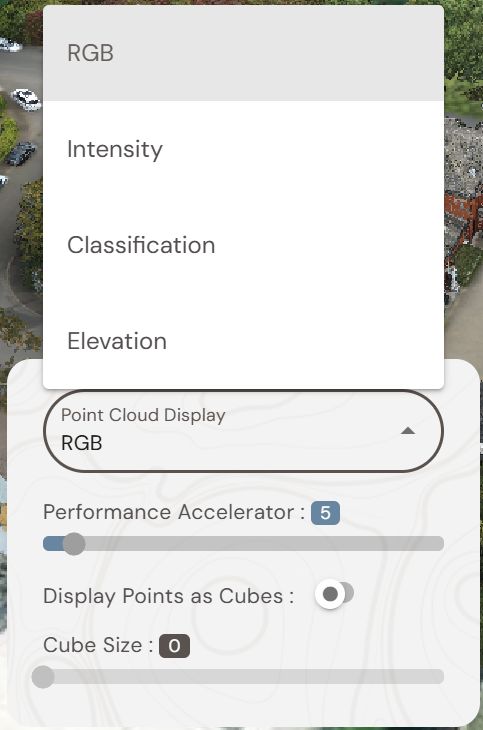
Select from RGB, Intensity, Classification or Elevation
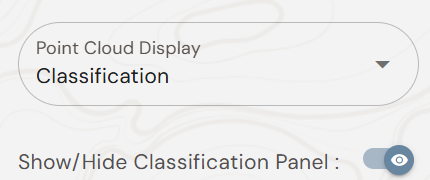
If you choose classification you also get the option to Show the Classification Panel and select which classifications are visible. Note, you must classify the point cloud before uploading into Soarvo for this function to work.
For elevation choose absolute height or relative height bands and choose a height range.
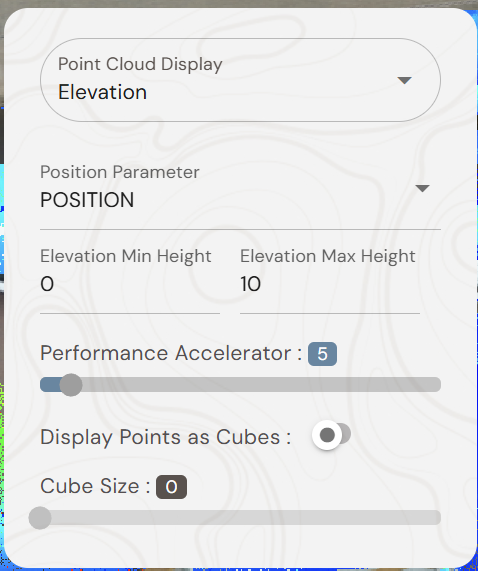
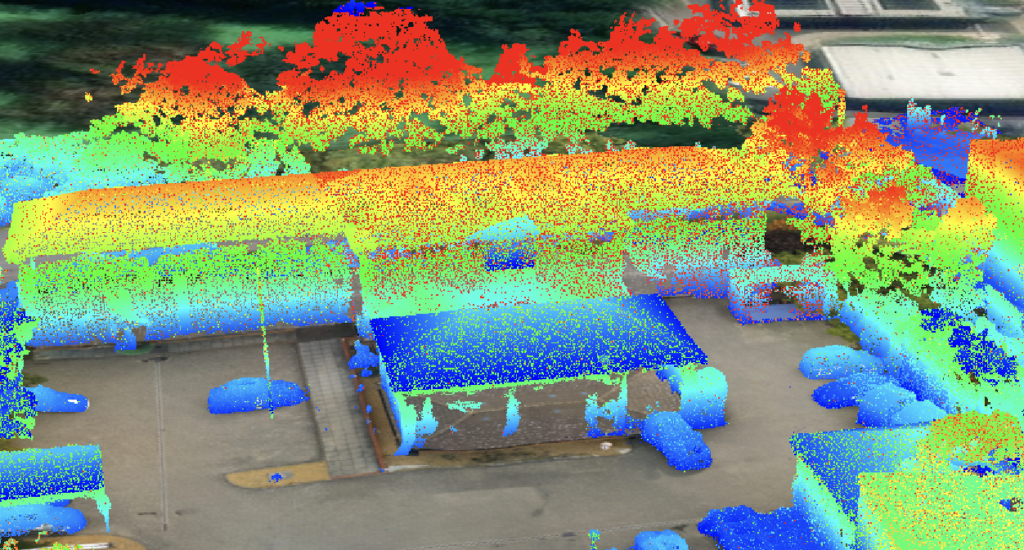
This will display data colourised by its height value
The lower the Performance Accelerator number the more dense the point cloud displays.
Please note that this could effect browser performance using large scale point clouds
You can also adjust the size of the cubes to give you a more complete view of your point cloud data.
Once happy with the viewing settings click the Panels button again to hide the settings box.
Adjusting a Point Cloud or 3D Model location within the map window.
Point Clouds and 3D Models can display with a different location references compared to the Soarvo Map window.
The location can be manually adjusted simply, to ensure that the 3D Model or Point Cloud sits in the correct position
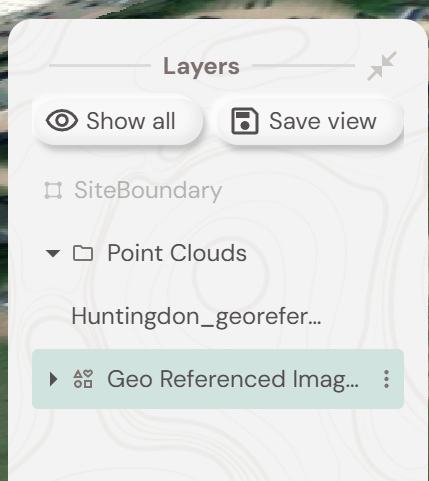
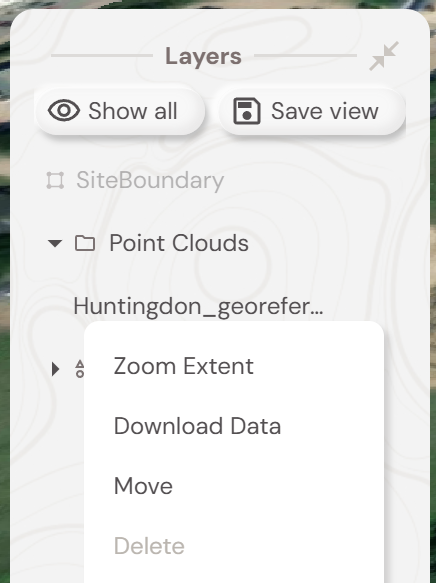
To access the move tool, select the model or point cloud you wish to move in the layers panel and click the 3 dots
Select the Move option from the menu
This will highlight the selected 3d model or point cloud in green and bring up the move tool adjustment panel
Highlighting each field will allow small adjustments via the up/down arrows, or for a larger move in position you can turn on the Click Move option to make a bigger adjustment to a 3d model or point clouds location.
